Tuesday, November 8, 2011

Shop Handmade!

Remember to shop locally this holiday season! Follow the link to join a group of folks who are dedicated to handmade vs box store gifts.


Here is a fun collection of items to get you started - a baby boy treasury in honor of our good friends from Michigan who welcomed a healthy baby boy into their lives yesterday!
 

You can also find a great group of artists at www.artisansofwmass.com - for all of your holiday gifting needs. Shopping handmade! Woot!


Friday, November 4, 2011

Baby Wipes - Tutorial

We try to be reasonably green around here... and I like to keep the chemicals touching my baby to a minimum. We cloth diaper as much as possible and I wanted a way to use plain water to wipe the little baby bottom. Although we ended up with several baby washcloths from a variety of sources, I didn't really like them for wiping. Most were just not squishy and absorbent enough to do the job.

I grabbed some 100% cotton WASHABLE worsted weight yarn and went to work.
This is the easiest knitting pattern. Ever. I mean, seriously, if you can't knit a scarf but want to knit your friend a baby gift? THESE ARE PERFECT. And if you can knit decently, they'll just go really fast.

I used size US 9 needles... I happened to grab my trusty dps, but straights work just as well.


Cast on 16... or 18, or 20. Your wipe will just be slightly larger.
Knit back and forth in garter stitch until the wipe measures 2 inches or your desired width. This is about 16 rows. No purling, just knit. See how easy?

The finished product! These wipes are also great for facial cleansers... not the same ones as the baby wipes of course... perhaps color code?

So they look pretty freshly made, but you may wonder how they hold up. The following is a picture of some wipes after heavy use and many trips through the washer (Hot water!!) and dryer (Hot air!). They actually become MORE absorbent the more they are washed... just like cotton cloth diapers.


Happy Wiping!

Tuesday, November 1, 2011

By Candlelight

Dawn on Sunday morning

Trees down in the backyard
We were in the epicenter of Saturday's October snowstorm and are just starting to get back to normal. We currently have power (probably because there is a warming shelter on our street), internet (just got that back tonight), and heat (wood stove... never lost this!), but many of our local friends and neighbors are without all three.

Cozy!

Saturday night was very strange - thick, heavy snow falling quickly with occasional green flashes, the cracks of falling trees and branches, and pink flashes and sparks as transformers blew. Quite surreal. We kept ourselves occupied by lighting candles, keeping the stove stoked, and trying to keep the basement from flooding. And we learned that beans and toast can be prepared quite well on the wood stove!

It will be quite some time before the area will be back to normal. Our thoughts go out to all of those still in the dark - stay safe and warm!


The view went from this...
To this!

Here are a few more stories about the storm from local friends...
http://jansjems.blogspot.com/
http://poetesswug-thewugsbackyardblogspot.blogspot.com/

Saturday, October 29, 2011

Saturday Morning Goodies

Need some delicious finds to accompany your Saturday morning cup of coffee? Look no further!

Click on the pictures above to visit the treasury and see the wonderful items up close!

Thursday, October 27, 2011

Applesauce, applesauce


As you may have surmised from yesterday's photo, the little tyke and I recently visited the apple orchard. We went to Cold Springs Orchard, a teaching, research and working orchard maintained by the University of Massachusetts, on a stunningly beautiful autumn day. We strolled through the rows of trees heavy with late fall fruit and then headed to the cider barn to pore over the tempting varieties.

I'll let you visit the Cold Spring website yourselves to get a full idea of the range of apples available. We picked out some Honeycrisp, Winter Banana, Emerald and a few more for eating fresh, then picked up 2 peck bags of seconds for turning into applesauce.

All these apples should make about 16 pints of applesauce, but they would need to be done in about 4 batches due to the space chopped apples consume. And if each batch needed to simmer for HOURS, well, with a 2 month old to watch and hold I knew I needed a better plan.


Enter the pressure cooker! About 10 or 12 minutes to come up to pressure, 5 minutes at pressure, cool under cold water, and done!


You don't need to peel or core the apples... just wash well, quarter, and throw them in the pressure cooker!


A nifty food mill
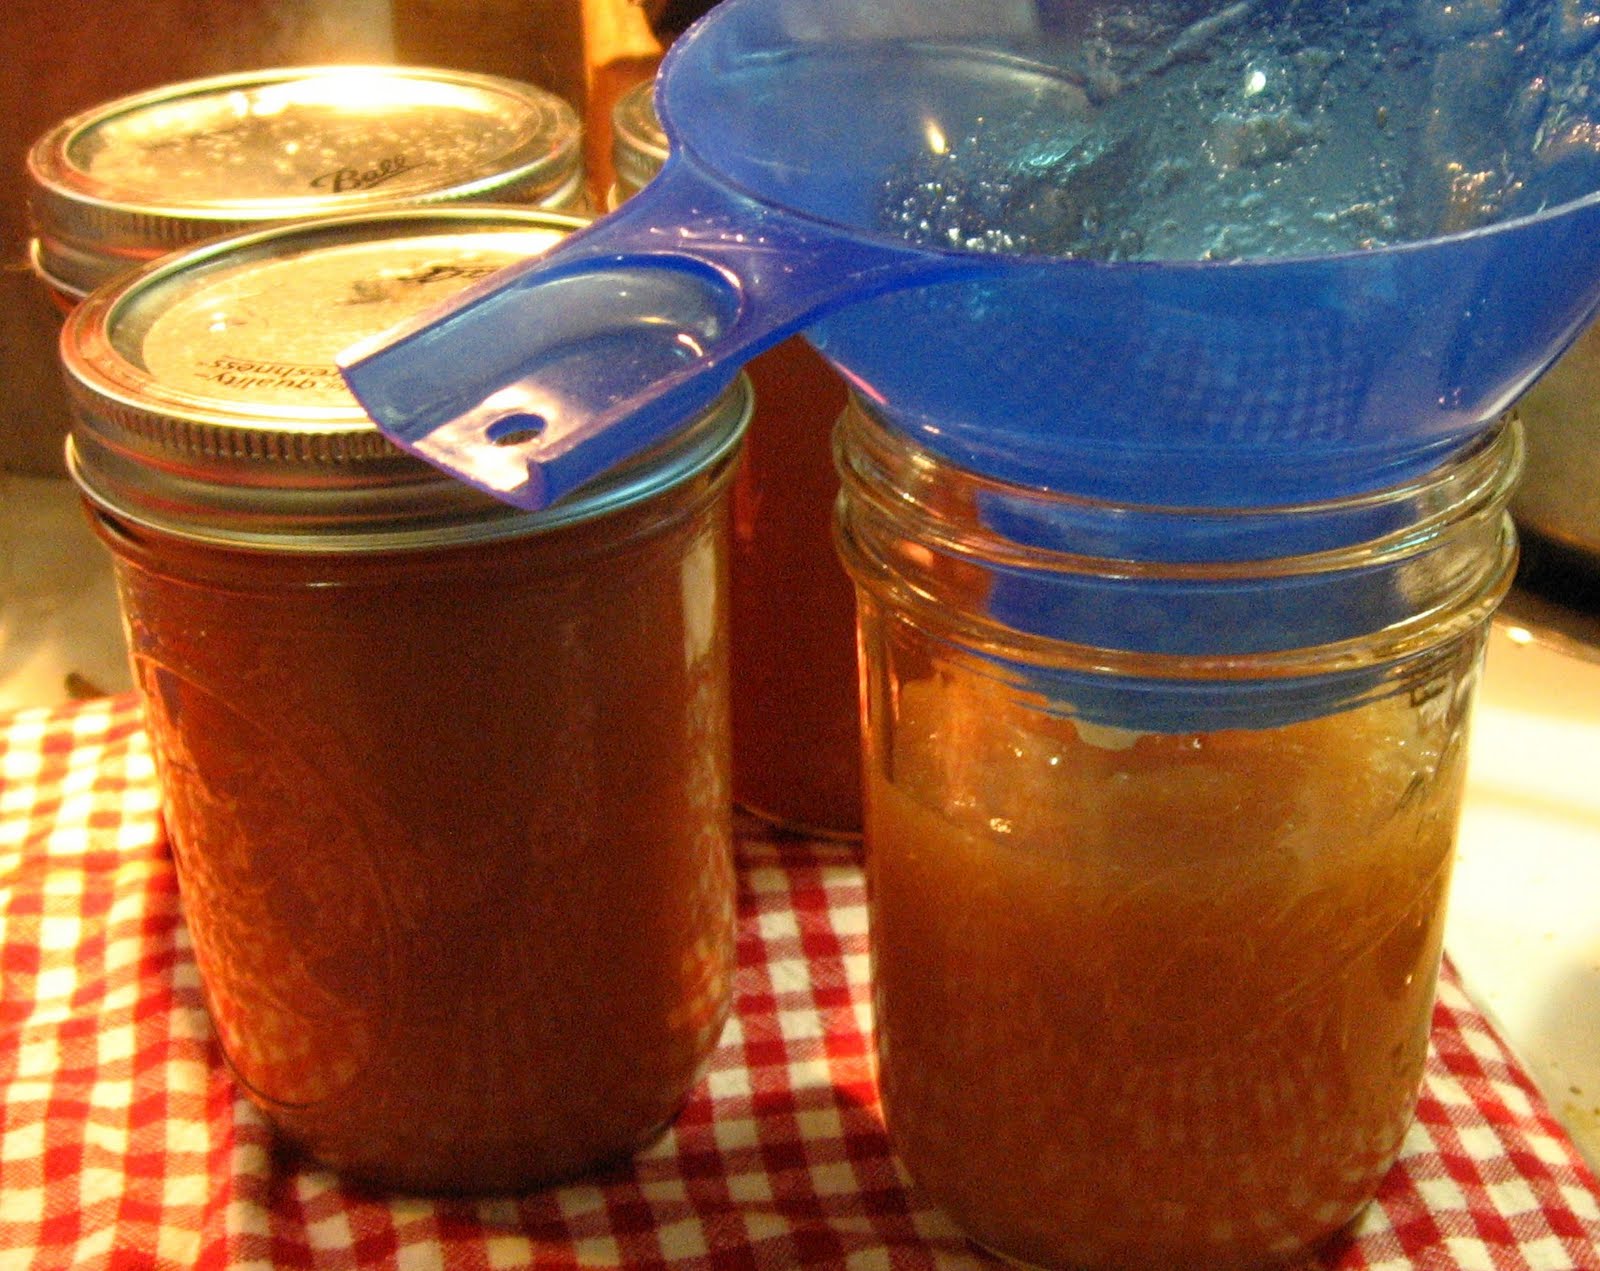
 After cooking the apples will be mushy and saucy. To remove the skins and cores I used a strainer, ladle, and a little elbow grease, but a food mill or similar item would make this job even easier...


I decided to freeze some of the applesauce in ice cube trays for later use as baby food. Makes it easy to grab just a few servings from the freezer.

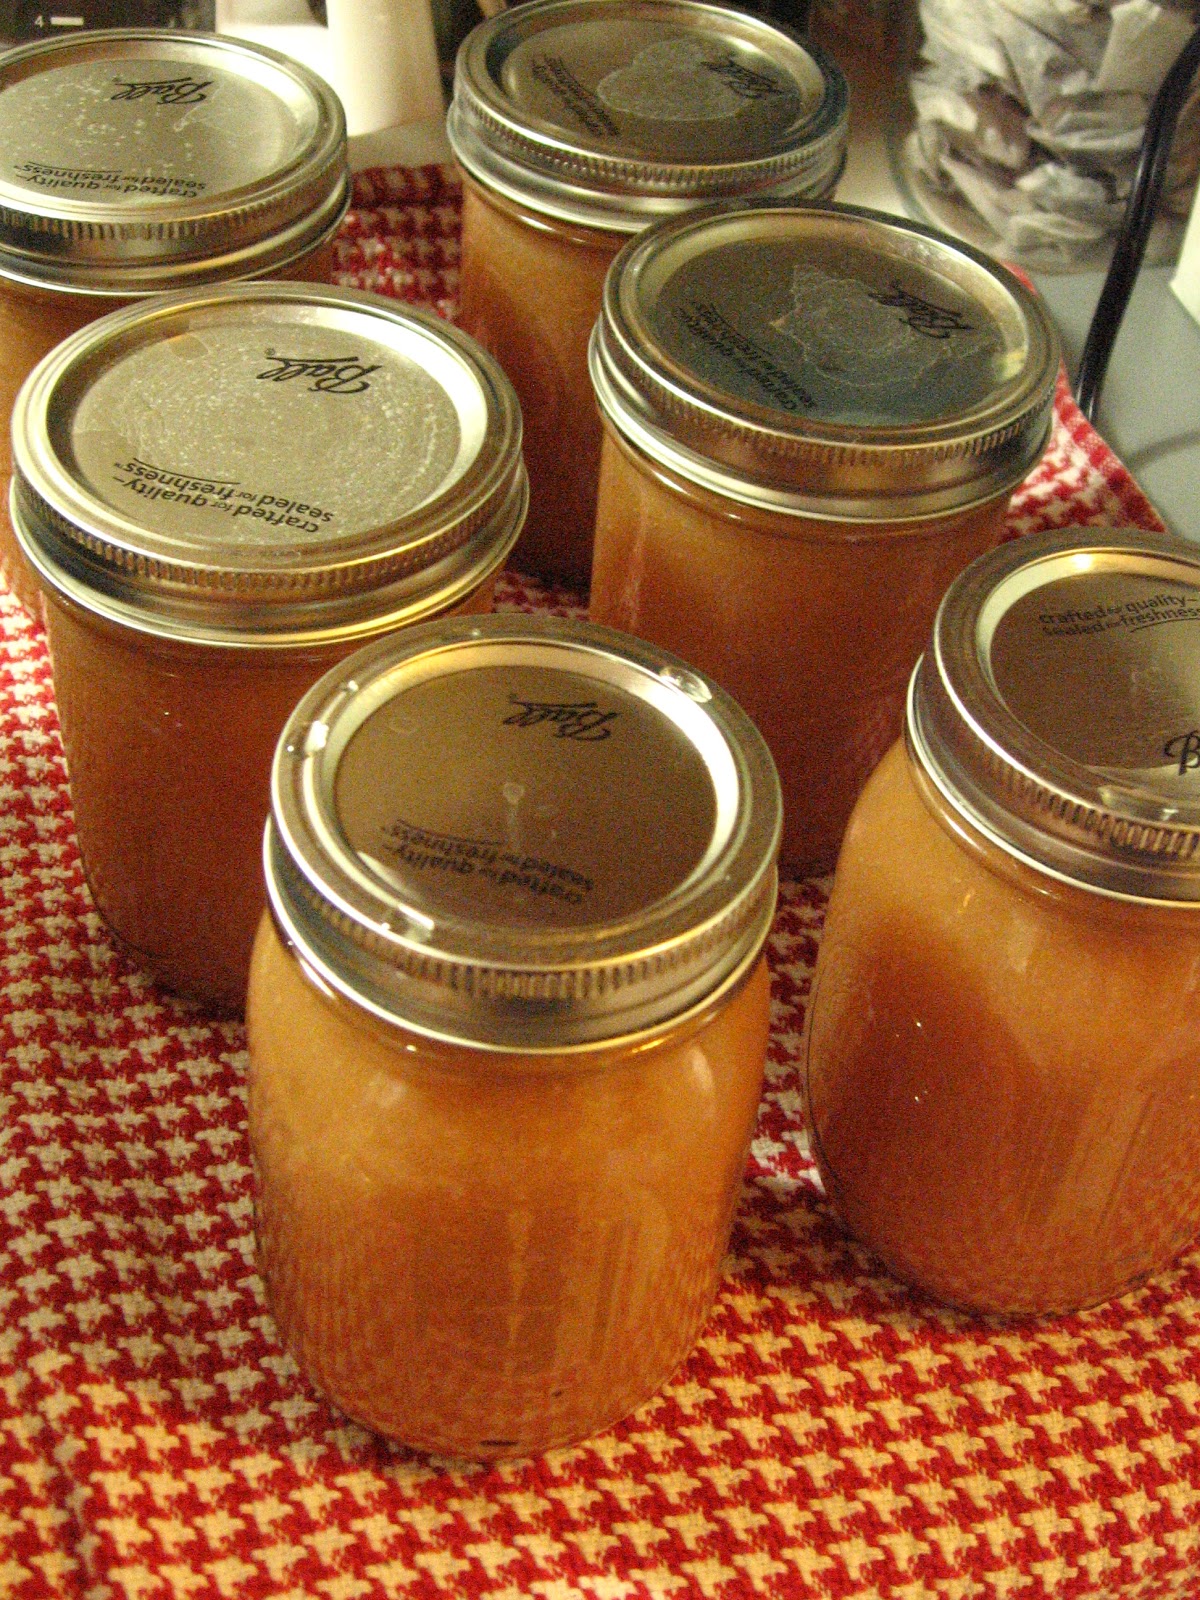
Finally I wanted to can some of the applesauce since our freezer space is getting tight. Mostly from all of the peaches our tree produced this year (yum!).
The easy 15 minute waterbath canning process is very well spelled out over at Pick Your Own, so I won't repeat that here, just leave you with a tantalizing photo of the finished product. And my helper.


Tuesday, October 25, 2011

And... We're back!

When I last blogged it was early spring and things were just beginning to grow, including me! Throughout the spring and summer I nurtured the garden and a little baby. Now it is fall, the garden is done, and and baby is here and not so little! I'll be trying to catch up with some good posts as I'm able (the long awaited Kiwi yarn post, applesauce and PIES), but in the meantime I'll leave you with a few photos of the babe and me.

Saturday, March 12, 2011

Digging out

Spring is finally approaching in snowy New England, and not a minute too soon. We're starting to see patches of lawn through the snow and I *think* I spotted a few daffodils shoots springing up.

In the meantime we're getting ready for the growing season and counting our blessings as we keep in mind those who have been affected by the horrific earthquake/tsunami in Japan. Speaking of this, click HERE for info helpful to those wanting to help the 4-legged victims.

I've been starting seeds for my garden already, which has the triple benefit of getting a jump on the growing year, saving money on buying started plants, and keeping me from going stir crazy. I recently attended a gardening workshop led by the dynamic father/daughter team Ron and Jennifer Kujawski and got some great new ideas. They have a new exceedingly practical book that I am loving - click on the picture for more info.

Inspired by their words and lacking a sunroom or even good south-facing window I decided to invest in some additional lighting for my little seedlings. A quick search online and in the local garden store showed that unless I was willing to shell out $100 or more for lights and a stand I was going to have to get creative. Luckily I found some handy websites that helped me do just that.

Marion Owen has a great 1 page resource for seed starting in general at http://www.plantea.com/seedstart.htm#raise - she confirmed the idea that a plain old $15 shop light will be completely suitable and that seedlings like a whopping 14-16 hours of light per day.

Cornell University's Extension added another helpful piece of the lighting puzzle with complete plans for a cheap, easy to build PVC light stand at the following page: http://www.gardening.cornell.edu/factsheets/growlite/index.html

One afternoon visit to the hardware store, about $30, half an hour of work (with a little help from the husband) and my lighting stand is complete!
These are my cold weather crops - Broccoli, Cauliflower, Kale, and Lettuce. I didn't get them under the lights quite as early as I would have liked so they are a bit leggy, but I'm hoping I can correct this when I transplant the sprouts into individual pots. The clementine box is an ideas from the Kujawski book.

Happy almost spring - next task is pruning the apple trees!